Sign In
How to install jute mat

Jute mat: a natural erosion control solution
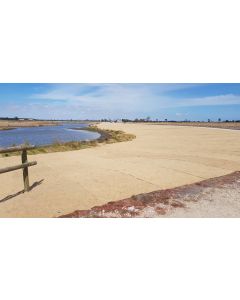
Tough and dense jute mat makes an effective erosion control measure on slopes, embankments and batters, and around canals and drains.
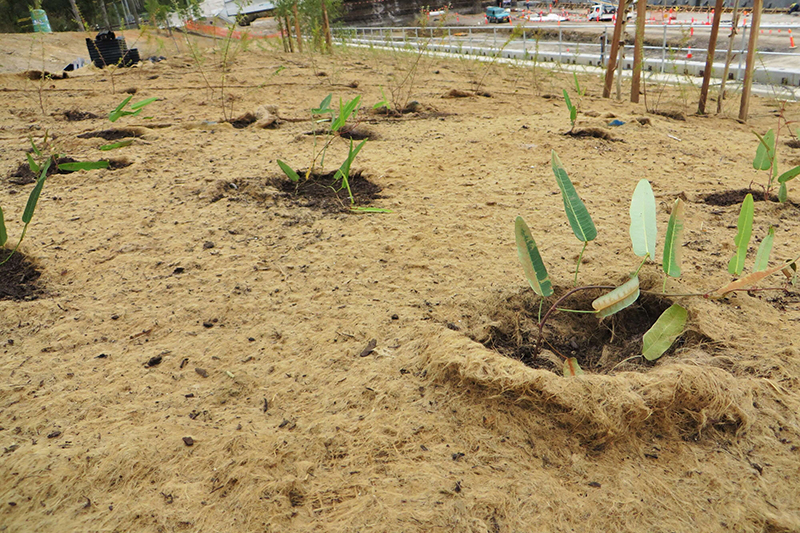
The natural, biodegradable material is manufactured from renewable resources. It provides the perfect damp, warm environment for young plants to thrive, whilst at the same time preventing erosion. Plus, it’s great for keeping weeds at bay.
When properly installed, jute matting will hold fast to most slopes, ensuring long term stability and predictable performance. With the right preparation, jute mat provides excellent erosion control
Here’s how to install jute mat.
Prepare the site
When you install jute mat, you first need to make sure the site is well prepared:
- Grade and compact the area as directed and approved by the project engineer. The subgrade should be uniform and smooth before you start.
- Remove all rocks, dirt clods, vegetation or other objects so the installed mat will have direct contact with soil surface.
- Prepare the seed bed by loosening the top 50-75mm (minimum) of soil.
How to install jute mat
When installing EROmasta Jute Mat you should follow the below recommendations for the best performance.
- Excavate a minimum 300 x 150 mm longitudinal anchor trench 600-900 mm over the crest of the slope.
- Install the top end of the jute mat into the trench, and secure it to the bottom of the trench using 150mm U Pins spaced every 300mm. Backfill and compact soil into the trench.
- Unroll the jute mat across the slope.
- For best performance, jute mat should be overlapped 150mm and anchored every 450mm along the overlap. Secure using 150mm U Pins. Overlaps should be shingled away from prevailing winds or water flow.
- Unroll the jute mat, maintaining direct contact with soil. Secure jute mat to the ground surface using 150mm U Pins.
- Once you reach the bottom of the slope, excavate a 300 x 150mm key anchor trench at the toe of the slope.
- Place the bottom end of the jute mat into the key anchor trench at and secure it to the bottom of the trench as before, using 150mm U Pins spaced every 300mm. Backfill and compact soil into the trench.
- If the potential for standing and/or flowing water exists at the toe of the slope, the key anchor trench at the toe may not be sufficient. In this instance, it’s best to consult the project engineer for the appropriate detail.
- Irrigate as necessary to establish or maintain vegetation. Do not over-water.
Need to know more about how to install jute mat?
Get in touch with our friendly Geosynthetics team for enquiries and pricing on jute matting and other erosion control matting.